What I Made Today
A lot of the furniture in my home has either been 'adopted' from my friends and family, or picked up on eBay and upcycled, or even found on Freecycle for, well, free. It's not so much that we have had to be really thrifty, as much as the fact that I love having furniture and items around me that have a history, or that I have been able to shape and alter to my will!
So when I was pregnant and my parents were moving, it was a great opportunity to get my hands on some furniture that they weren't taking with them to their new houses, and that my little baby could use.
This toy box was made by my dad and was much loved, shall we say! My mum had last recovered the cushions for my younger brother, but the foam was still in good shape. I can't say who the culprit for all the stickers was, I think that might have been all of us...!
I started by wiping down the wood with a sugar water solution to remove all the dirt and general grime (who knows what some of stains were caused by), then soaked and attacked the stickers with a wallpaper stripper tool.
I waited for the wood to dry then lightly sanded it. To be fair, it was pretty well keyed from its years being scuffed. I am also terrible at preparation - if I could get away with doing none at all and going straight in with the paint/sewing/whatever craft I'm doing I would!
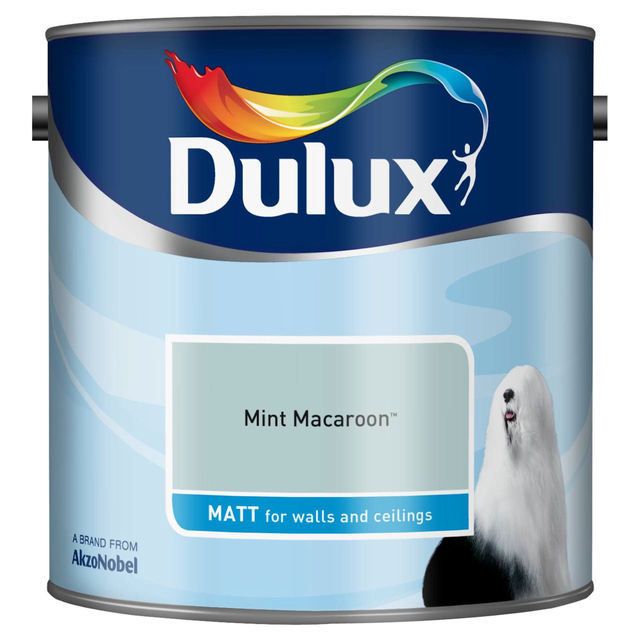
One of the feet had also fallen off so we added a few new screws. Next it got a couple of coats of Dulux Mint Macaroon, which I have also painted the sproglet's wardrobe in. No pictures of this stage...ahem
Then I created some REALLY simple cushion covers, based on the existing ones. I essentially cut a long rectangle twice the length of the square foam, with enough fabric to go round the sides and form seam allowance. I hemmed the two shortest sides of the rectangle, then folded it in half lengthways, right sides together, and sewed along the longest edges. This formed a tote-bag shape which I slid the foam into.
 |
| I used fabric from the Bluebird Park range by Moda bought at ... Abigail Crafts of course! |
To close the cushion cover I stitched Velcro in three places to the opening, then simply folded the corners in for a tight fit. I'm sure there is a more professional way of creating a box-shape covering but, well, see the earlier comment about me and preparation...
 |
| Here you can see two of the three Velcro fastenings. |
I love this fabric and also have made curtains from it, and plan to make bunting from the Bluebird Park range. Like the Rupert Bear dress I posted about, it's pretty but not pink and sickly girly ... if she had popped out and actually been a boy I would still have been happy with this fabric! Check out my mood board for the nursery on my Pinterest page 'Little Rooms' and here.
I really wanted the room finished before she was born but it didn't quite happen - let's blame the fact she was two weeks early! The toy box, however, was ready :). Here it is in all it's reloved glory.
 |
| Don't you love the baby Converse? Bought by her fab uncle, but too big atm. |
My next project for the sproglet's room is this handless chest of drawers... I am not responsible for the baby modelling in this photo! Hope to start this project soon and have an idea for the handles that are missing I can't wait to try - watch this space!
 |
| Chest of drawers from the in laws this time - she does not look impressed with grandad! |


No comments:
Post a Comment